Showing posts with label Dresses. Show all posts

Thursday, 18 September 2014

Sweetheart Leopard Print Dress

This is one of many of my unblogged makes, but since I got some good photos on holiday, I thought it was time to finally show everyone! I would like to point out that I will never be one of those bloggers who has half a dozen fabulous pictures with a post, but I hope you will agree this is an improvement! Do ignore the somewhat bleary face, I was horribly ill with a bad cold and trying my hardest to not give Rudolph a run for his money!

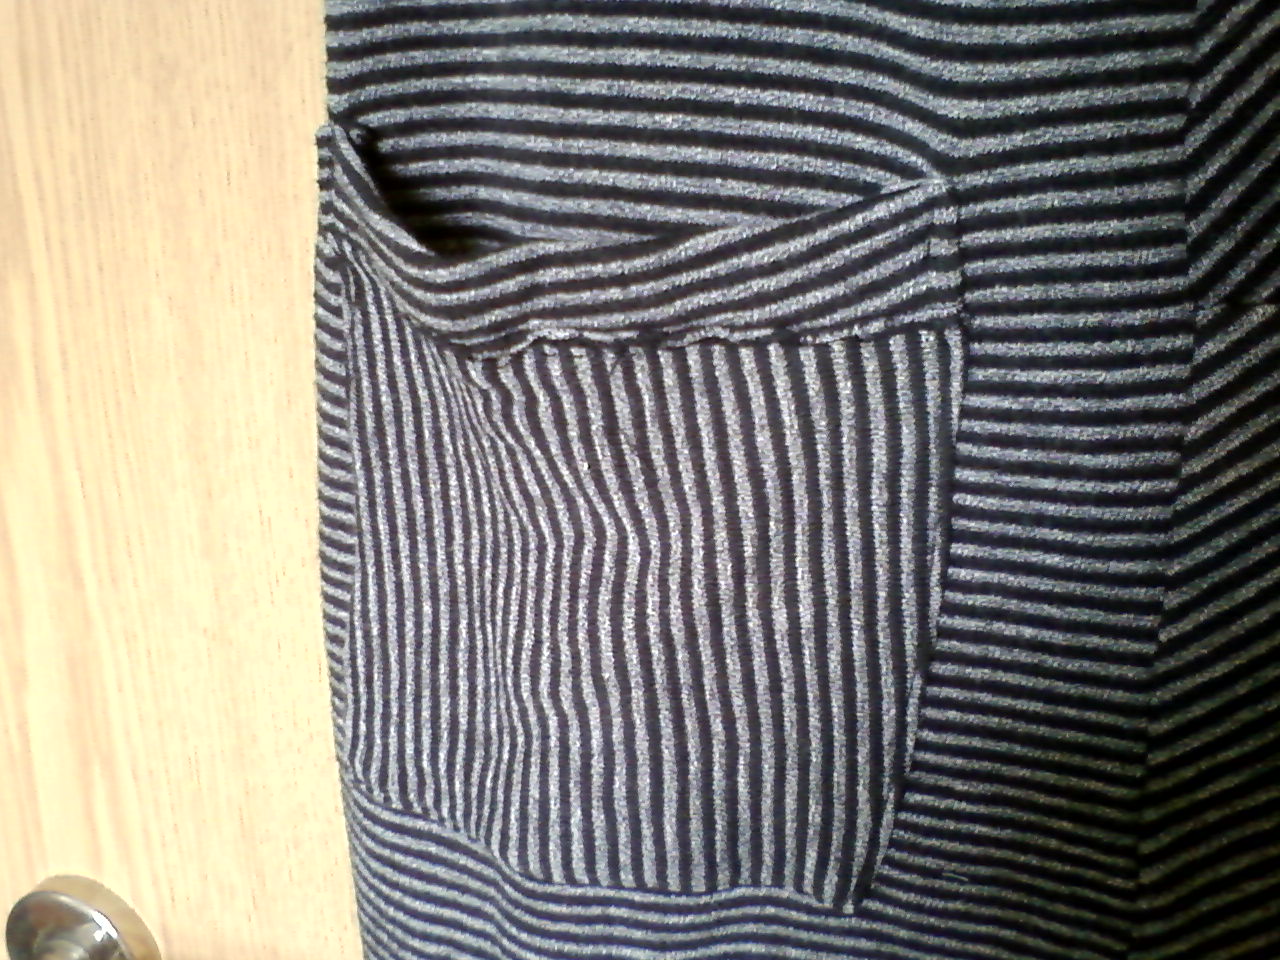
The dress in question was made from a mystery jersey, fairly heavy weight, not overly stretchy.
I think the pattern was one from Prima magazine, but I ended up changing it so much that you would hardly recognize it as being the same at all!
One of the biggest changes was to add the sweetheart neckline. I basically just gathered the neckline in at the sides as opposed to the more traditional method. This was because when I sewed it up, it wasn't right, and I had to play around with it to make it better. I'm pretty pleased with how it looks.


The fabric isn't graduated in colour, it's just the shadow - although how fabulous would it be to have ombre leopard print?!
I also added in a different sleeve, my preferred slightly puffed elbow length one that I drafted for a shirt dress a long time ago, and have used for everything ever since - well when you know what you want, you simply have to go with it!
This dress is a go-to in my wardrobe, so comfy, is winter proof with a pair of leggings and boots, and also frees me of the need to wear a cardi when it is too warm.

My OH spent half of our walk taking silly photos of me walking along to make a bad animation from - this amused him highly, but does mean you can see the back of the dress too. Simple and unfussy, the business is going on at the back, and the party stays at the front.
I suppose it may look a little on the short side but I am only 5'2" so it doesn't seem too short.

Now...one down, only a hundred more "oh yeah I made this" posts to go.... 

Saturday, 22 February 2014

Stripey Dress - Sweater Refashion

Hello!
Thought I would share a refashion that I did a shamefully long time while ago, before I got my overlocker last summer (Okay, this is from 2012, I admit it!!). It started life as a sweater type thing, huge with long sleeves. I was going to take pictures for a tutorial but I obviously forgot!
All I did really was to get a vest top that fits well and draw around it with some chalk, not including the straps and extending the bottom to make it dress length... okay, short dress length!
I then cut another panel out, around 6" wide. I cut up the middle of the dress and sewed in the extra panel. This made it not quite so much like being in a sausage skin, super tight fitting dresses are only for the slim and alas, I am not one of those girls!


Here is a close up of the straps, I cut out four long rectangles from one of the sleeves, and then sewed each pair together with the right sides together. I shaped one end to be rounded, just freestyled it as total perfection was not necessary! I then turned them inside out and attached them to the dress. To ensure they were the right length I sewed on both straps at the back and then trundled off into my bedroom to try it on and pin the straps in place at the front, I just looked in the mirror to gauge how even they were. They then got sewn down and buttons sewn on for decoration only. As you can see the raw edges aren't finished, they won't fray though so it's ok.


I then added some pockets because I love skirts and dresses with pockets on. They are infinitely more useful that way and if it is just casual every day wear then practical is always good! I cut out the two pocket shapes (I think I may have actually made a paper template shock horror!) and then a rectangular piece to strengthen and neaten the open part - I just sandwiched the pocket in there.
I sewed the pockets on using the regular patch pocket method.


So it was as easy as that! Don't be scared to refashion old/ thrifted clothes, even if they get messed up you haven't lost anything except your time and maybe a couple of quid! You will have gained experience even with something that turns out wrong and that alone can be worth it :)
Be brave and have fun!

Monday, 6 May 2013

Dress Upcycle

Happy bank holiday everyone! I hope all of the UK readers are enjoying the sunshine! I am stuck indoors doing a lengthy assignment - booo!
Just a quick post to share an upcycle I did in January for a works retirement party. Ignore the dodgy hair, I have no idea what I was thinking with that parting! I do have some before pictures of me wearing this dress 8 years ago but I am way too embarrassed over them and I also can't be arsed to scan in a photo. The dress in question was from when I was a bridesmaid at my Mum's wedding. It was plain purple and was tea length. I looked like thew worlds biggest (quite literally the biggest) muppet. As you can see I chopped off about 8-9inches off the bottom to make it a far more flattering above the knee style, perfect for us shorties who like to give an illusion of being taller. I also handmade 35 black acrylic net flowers with beaded centres that were hand stitched around the bottom.
Recognise this Mum?!
You get a better idea of colour here, it also looks a lot shorter when hanging up but I assure you I am only 5ft 2.5" so this is not that bad! I rolled the hem very painstakingly but it looks a bit shoddy so I didn't want to photograph it - good job I'm not on the Great British Sewing Bee isn't it ha ha!

A bad close up of a flower, simple to make, I'm sure you have seen tutorials for them around the blogosphere/ Pinterest.

All together a successful transformation. Just goes to show that sometimes you really do need to hang onto that thing in your wardrobe for a bit longer!

Saturday, 10 September 2011

Adventures with fabric dye - Part 1

STEP 1 - ASSEMBLE THE STUFF AND THINGS!


You will need - 
* One washing up bowl sized container that is no longer used
* One tablespoon of salt
* One packet of fabric dye for hand dying
* Plastic or preferably rubber gloves (these are important!)
* A stirring implement, I used an old paintbrush
* A smaller plastic container (not pictured)
* One really nasty coloured dress (which is a nice style)


STEP 2 - MIX UP THE DYE ACCORDING TO INSTRUCTIONS

I did not think to write down the instructions from the packet for this post as I am a fool!
Make sure to stir it up really well and not to splash it everywhere, a sensible option would be to place it on an old towel or some newspaper unlike myself who got it on the worktop - it came off thankfully as I was quick enough to spot it!


STEP 3 - FILL UP THE LARGE CONTAINER WITH WATER AND ADD SALT

It was also warm water for this dye, the instructions will reveal all to you!
If you have a curious cat shut them out of the room, Biggins nearly became a black cat due to her idiocy!


STEP 4 - ADD THE DYE TO THE WATER

Again, be careful to stir thoroughly and wear the gloves! I got a hole in one of my gloves and ended up with weird black stains for a few days!

STEP 5 - SUBMERGE OFFENDING GARMENT IN THE BLACK WATER

Poke it about a bit to ensure it is all covered with dye.
Then stir continuously for FIFTEEN MINUTES!!!
You will then need to stir it regularly according to the instructions, I had to do it for about 45 minutes.


STEP 6 - THROW IT IN THE WASHING MACHINE!

I didn't take a picture of my washing machine to add here..... I think everyone can use their imagination!

MOST IMPORTANTLY, READ THE INSTRUCTIONS PROPERLY!!
(I DIDN'T)

Find out what happened to the dress in part 2!

Tuesday, 19 April 2011

Recent sewing


First up is a top I made yesterday, same fabric as the daisy circle skirt, lace trim and ties made from the same material. Very summery! The bust part is from a tutorial by Lex (Contour bust tutorial) and the elasticated back was my own addition because I didn't want to mess about with zips or buttons! I will be doing a version with a zip when I get around to it on my big list of thing to do!


Second is the dress that I made for my mum, isn't the butterfly print cute?!
Just a basic halterneck dress like the other ones, finished all the seams really nicely and even hand sewed the excess material around the elastic casing! Mum has promised me a picture so when I get it I'll post it up to show what the dresses look like when they are on a person as opposed to on my living room floor!


Sunday, 10 April 2011

Hello Sailor ;)


Well it's been a while! Having had a little break from the sewing machine I kick started my sewing with this awesome (if I do say so myself!) nautical dress.
This is what gave me a stripe headache for all those that heard that little tale!
Basically I picked up some navy and white striped cotton jersey for a reduced price and thought I would spoil myself with a dress to wear in the sunshine. I only have a small selection of patterns to use and didn't think the fabric would work well with any of them. A lot of the problems involved it being too complicated to match up the stripes as I'm a novice when it comes to stripy fabric! So after hmmm-ing about it for a while I decided to use two patterns and frankenstein them into one... So I used a wrap style top and the skirt piece from the halterneck dress pattern. So far so easy.
I then had a stripe worry, being a rather well rounded girl, I didn't want all the stripes going horizontally for fear of looking massive(r). Diagonal stripes would have worked well for the whole thing but I didn't have enough fabric to do so. I don't half make things awkward for myself!
So I decided I would use stripes going in all different directions as you can see from the pictures. Cue headache and spazzy eyes! I have no idea what the deal was with that, the finished dress does not induce weirdness!
Anyway, I cut out all the pieces and sewed 'em up, then needed to sort out some sleeves. I used the sleeves pattern piece from the wrap top but shortened them, sewed them on and then cut them diagonally for a bit more room. It looked pretty silly. So I ruched them, added a button and voila better sleeves!
I also added four buttons to the front for decoration. The buttons are really cool, they have little anchors on the front adding to the nauticalness.
I also had to add a 'modesty panel' to the bust, I would happily have had my boobs out that much but old ladies are prone to tutting at me so I thought I would spare them the need on this occasion, and it is a daytime dress too so a little modesty is ok!

Next project I'm going to be working on is a dress for my mummy, a version of the infamous halterneck dress I have made many times previously, won't take me too long, two hours maximum so I'll post it up tomorrow probably - and maybe I can persuade mum to take a picture of it to put up here too!

Thursday, 24 March 2011

Floral halterneck dress the second


More summery flowery goodness! A simple ribbon tie halterneck dress, elasticated above and below the boob area to avoid unwanted flashing!
Made using yet another Prima pattern, very simple, made to a size 12 but looks a bit small... hopefully just the elastic pulling it in! I would like to make another one of these but will have to wait until I brave the masses in town to buy some more elastic - I've scavenged as much as I possibly can from old bed sheets that don't fit our bed and old clothes to delay the arduous trek to purchase essentials! I really hate going into town, people just annoy me too much....old people being slow.....children getting under your feet....chuggers (charity muggers) every 20 feet harassing you into signing up to donate for every charity under the sun, avoiding them takes military precision! All very stressful!
But I have to go tomorrow anyway as I'm meeting up with my dear friend Bethany for a cheeky pint if the weather is nice or a coffee if it's miserable so we can discuss the craft fayre on Saturday and have a girly catch up - I can't wait :)
Check out Bethany's blog listed at the side in my blog list <3

Dorothy dress!


Unintentionally this dress has got a touch of Dorothy-ness about it... it was fine until I added the red bits!
The dress was made with the same pattern as the previous floral halterneck dress, I have altered it a little though. Firstly I knocked about 8 inches off the length - from respectable to tarty in a few snips! I also added a sort of lining to it, the white pieces that you can see. I also reduced the blue front bodice panels to show through the white.
It didn't take too long to make but I've been having somewhat of a sewing headache today with lots of silly little fuck ups that I could really do without this close to the craft fayre.
On the plus side I did get to add sparkly bits with my beloved "Kandy Kane" hot stone applicator which I don't use enough! If left to my own devices I would cover the whole house in sparkly gems hahaha!
The fabric I used was just the usual polycotton, nearly had an emergency situation with the white material, just about managed to fit in the final bodice piece and with the grainline correct aswell!
My terrible photography skills/equipment really don't show things off like this well, I'm thinking I should try to con someone (or rather some people as I don't make everything the same size...) into modelling for me...any volunteers?!

Tuesday, 22 March 2011

Floral halterneck dress


Yesterday was a good crafting day! I got this dress made also. Used a Prima magazine (they really are great patterns thanks mum!) pattern and a vintage bed sheet (I assume it is pretty old, when is the last time someone had a floral bottom sheet that looked like that?!). Very summery and light weight. My first time making an elasticated bit, was easy and quick, definitely better than zips!
The dress reaches mid calf on me so on a normal height person would probably be knee length. Also looks to be a pretty modest dress in terms of cleavage, doesn't fit me so I'm unsure how it would look really.
Over all it was a quick easy dress to make, couple of hours including cutting it out etc.

I also have a confession..... my name is lucy lovell and I sellotape my patterns onto the fabric! I really never get it right when pinning them on so I thought I'd try sellotape and its awesome! But if anyone has any tips on pinning them on so the pattern lies flat I'd love to know :)

Thursday, 10 March 2011

Polka-dot dress.....and the reason why cardigans are my best friends!


Well here we have it! One retro/vintage inspired polka dot dress!
I am ever so pleased with how it turned out and the surprised reaction when it was revealed that I made it was very encouraging! The dress made it's debut at Tuesday night's staff meeting and I would like to thank everyone for their kind comments :) It still needs the tiniest bit of work, having tried poppers to prevent bust gapage I have decided that velcro is the way forwards - cheap and nasty, yes, but it will prevent the gaping at the bust without having to redesign the whole bust piece. Live and learn people!!

I basically had to construct a whole new bust piece anyway as my larger than average bosom will not be found on any normal pattern sizes. I love the way the dress looks and feels, when you run down the stairs the skirt flares out like a super hero cape <3
I dealt with a slight bagginess in the back with the ribbon tie which adds a little decoration to an otherwise plain back piece.

I absolutely plan to always wear this with a cardigan, as the photos blatantly show my arms are not my finest point (there is muscle in with the fat too - promise!). But it is an excuse to indulge in cute knitwear. So it isn't all bad hahaha!

Yay for dresses!!!!!

Sunday, 6 March 2011

Almost done!

Well in record timing I have actually managed to sew all corresponding pieces of the dress together, trim all seams, hem up the bottom, iron it, sew buttons and button holes, create a custom bust piece and add a tie to the back to deal with the slight bagginess!

It was the first time I have ever made button holes with a sewing machine, thankfully I practised on a scrap first rather than diving headfirst into it! The instructions that came with my lovely Janome were really well explained and the diagrams were clear too. Bit nervous about using the seam ripper to open them up in case I cut the stitching by accident but it was fine, I managed to keep inside the gap. I also have a crafty tip for everyone that came around whilst making this dress......
**If you use the insides of cushions for stuffing things you make then keep hold of the outside part, it will save you money on buying interfacing stuff and result in one less thing thrown in the bin!**

I love a little way to use up unexpected items and save a few pennies on materials too :)

Well anyway, back to the dress, all that is left is to sew on a popper to stop a little boob flashing and a few stitches to bring the bust part in a little tighter then I'm done!
It looks really cool, kind of a rockabilly/pin up look meets pirate wench.... which equals cool to me, sod what anybody else thinks!
I'll go into more detail about adjustments/ problems etc when I post a picture up of the finished product.

Thursday, 3 March 2011

New Project!


Two nights ago I started on this pattern, a 1994 McCalls picked up from a charity shop. I'm making dress C but without the capped sleeves, just sleeveless like the blue version. I've used a white with black polka dot polycotton, very light-weight for all the sun I hope we get this year! By the time summer comes around I'd like to have a decent selection of pretty dresses that I've made myself.....if I manage to do a good enough job!
I'm still learning so I will stick to the cheaper fabrics until I'm confident I won't do too much of a bad job! When I've mastered the arts of dressmaking I'll invest in some lovely fabrics and maybe even splurge on some vintage ones.

Anyway, the pattern is all cut out with no help from the cat (who did her best to ruin the pattern pieces whilst I was cutting them out, thankfully she didn't destroy any of them, just a few holes in the middle of the tissue paper!), I bought the buttons for the front today - 6 gorgeous twinkly black ones - and will start assembling the pieces tomorrow. I'm nervous and excited!
I also thought about it practically, I.E. what am I going to wear with it to cover up my wobbly arms? Answer....with a red knitted shrug! Which I bought the wool for today aswell as I was in town. Fingers crossed it goes ok!